Okay, so picture this: I'm at a family reunion, and Aunt Gertrude, bless her heart, is attempting to show everyone her vacation slideshow on the massive TV screen. But, of course, things aren't going smoothly. There's a 30-second gap between each photo, someone accidentally pauses it to adjust the volume, and my cousin Billy is using the remote as a toy airplane. Chaos, absolute chaos! We needed a better system.
That’s when the idea struck me: what if we could create a USB key that played a video on a loop? No more frantic clicking, no more accidental pausing, just smooth, continuous playback. Genius, right? (I thought so too!).
So, how do we achieve this magical feat? Bienvenue dans le monde merveilleux de la clé USB vidéo lecture continue! (Welcome to the wonderful world of USB key continuous video playback!)
The core concept is pretty simple: we're going to essentially turn our USB drive into a miniature media player that auto-plays a specific video and loops it indefinitely. Think of it as a digital exhibit in the palm of your hand.
Step 1: Preparing Your Video
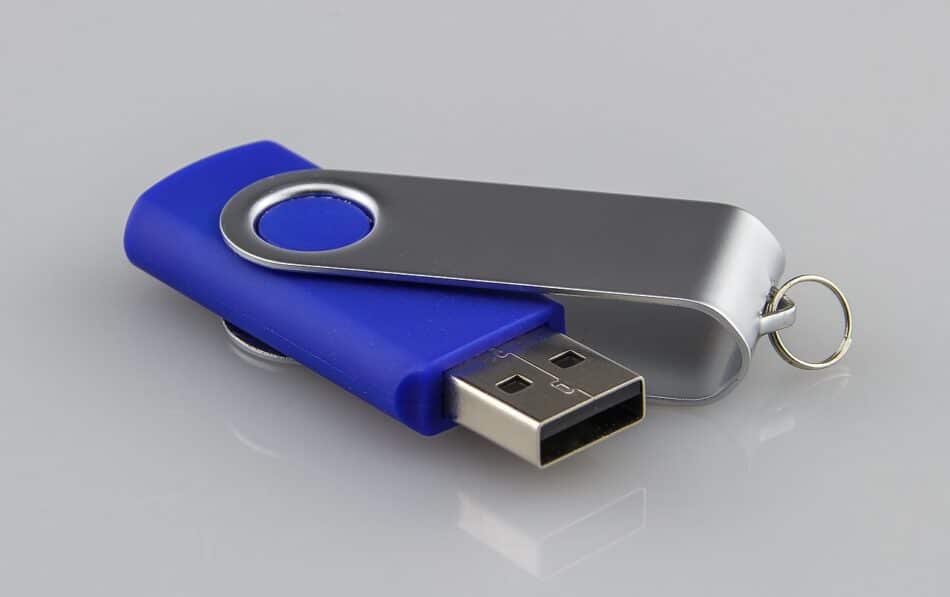
First things first, you'll need your video file. Ensure it's in a compatible format for most TVs (MP4 is generally a safe bet). If your video is, let's say, in a super-obscure format only your grandmother's camcorder recognizes, you might need to convert it. Plenty of free online converters can help with that. Just be careful about the website you choose – you don't want to download any unwanted extras!
Also, think about the video's resolution. A super high-resolution video might look stunning, but older TVs might struggle to play it smoothly. Finding the right balance between quality and compatibility is key.

Pro tip: Give your video a descriptive name. Avoid names like "Video1.avi" or "Untitled.mov". Something like "AuntGertrude_Vacation.mp4" will save you headaches later. Trust me, you'll thank me for this.
Step 2: Creating the Autoplay Script (The Tricky Part…Sort Of)
Now, for the slightly more technical bit: creating an autoplay script. This script basically tells the TV (or media player) what to do when the USB drive is plugged in. The method for creating this will depend on your device/tv. Here's two common cases:
Case 1: TVs with Autoplay Functionality
Some TVs are surprisingly smart! They have built-in autoplay functionality. Check your TV's manual (yes, the one collecting dust in a drawer) for instructions on how to enable this. It often involves navigating to a specific setting within the TV's menu.
If your TV has this option, all you need to do is copy your video file to the root directory of the USB drive (that means, not in a folder). The TV should automatically recognize the video and start playing it on a loop.
Case 2: Creating a Script (Autorun.inf) - Use with Caution!
Historically, you could create an `autorun.inf` file to automatically launch a video file. However, due to security concerns (viruses, malware, the usual suspects), most modern operating systems and media players have disabled the autorun feature. So, this method might not work on all devices, and you should use it with caution.

If you want to try this (at your own risk!), create a text file named `autorun.inf` and paste the following code into it:
[autorun]
open=your_video_file.mp4
action=Play Video
icon=your_video_file.mp4
Replace `your_video_file.mp4` with the actual name of your video file (including the extension!). Save the file as `autorun.inf` and place it in the root directory of your USB drive, along with your video file.
Important: As I mentioned, this method might not work, and it could even pose a security risk if your USB drive ends up in the wrong hands. Proceed with caution and only use this method on trusted devices.
A safer alternative: For TVs, using the built-in autoplay function is almost always better.

Step 3: Testing, Testing, 1, 2, 3…
Now for the moment of truth! Plug your USB drive into the TV and see what happens. If everything went according to plan, your video should start playing automatically and loop seamlessly. If not, don't panic! Double-check the video format, the file name, and the autoplay settings.
If you used the `autorun.inf` method, try a different TV or media player. It's possible that the device you're using simply doesn't support autorun.
And that's it! You've successfully created a USB key that plays a video on a loop. Now, go forth and share your creations with the world (or at least, with your family and friends). No more remote control battles! (At least, not over the vacation slideshow.)
So, next family reunion, I'll be ready. And Aunt Gertrude? She’ll be amazed. I might even become the family tech guru. One can dream, right?